Propagating Native Azaleas
Earl A. Sommerville
Marietta, Georgia
Over the past 30 years, I have sought to develop a reliable process for propagating native azaleas. For the first 20 of those years, my efforts were met with little or no success. The next five years showed marked improvement, and for the last five years I have been consistently rooting at the rate of 80 percent.
After much trial and effort, I have learned that some plants simply will not root. Ironically, these are usually the very best plants. Although this may seem frustrating, do not give up. For instance, I dug a "horizontal"
R. calendulaceum
in 1963 and for 28 years it refused to root. After all that time, last year it produced two plants, and from those two plants four were yielded this very year.
North Georgia contains a variety of native azalea species that have crossed naturally through the years producing natural hybrid or inter-species hybrid azaleas. This natural crossing may serve to aid the propagation process. While I have been successful in propagating particular plants in all species, I have also found individual plants that will not root in each of the species with which I have worked. For years I have been told that you can't root native azaleas, but I have been quite pleased with the results. The following sections provide a detailed methodology I have developed over the years for propagating native azaleas.
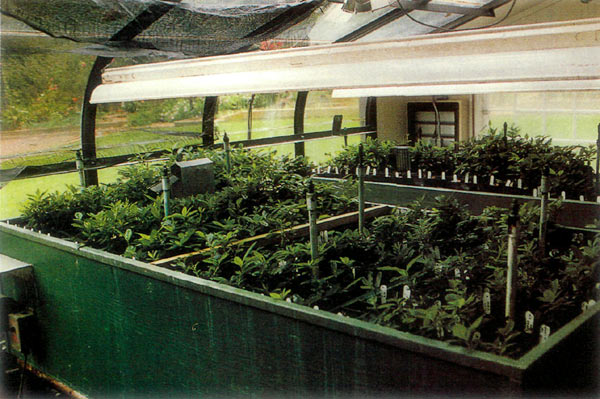
Propagating Bench
The bench measures 4 feet wide (1.2m), 8 feet (2.4m) long, and 12 inches (30.5cm) deep. On the bottom of the bench is a -inch (6mm) hardware cloth topped by a -inch (2cm) water pipe. Next is 3 inches (7.5cm) of large pine bark, a heating cable or hot water pipe, and 3 inches (7.5cm) of small pine bark.
|
|
Propagating bench, Sept. 1, 1997.
Photo by Earl A. Sommerville |
Lighting
Four daylight tubes, 8 feet (2.4m) in length, are positioned 2 feet (0.6m) above the propagating bench. These tubes are controlled by a 24-hour clock with one-hour trips (on at 7 p.m., off at 11 p.m.)
Primary Mist System
The primary mist system consists of a filter, solenoid valves, and a 24-hour clock with 15-minute trips that controls a 6-minute clock with 1-second trips. Flora Mist brand nozzles are used in conjunction with baffle wire and placed 18 inches (45cm) above the bench. The mist head spacing is not to exceed 3 feet (1 m), and the operating pressure on these heads should be set to 60 psi. This system should be operated from 8 a.m. to 7 p.m. for 2 seconds every 2 minutes or for 1 second every 1 minute. By the first of July the primary mist system is phased out to allow the secondary mist system to take over.
Secondary Mist System
I use a Mist-A-Matic brand system made to operate around the clock. Although this system is billed to operate 24 hours a day, in actuality it operates from 7 p.m. to 8 a.m. or as needed.
Medium
The medium consists of two parts pine bark (screened through a -inch [6mm] screen), one part peat moss and one part perlite. It should be subjected to the mist for a period of seven days before it is ready to accommodate the cuttings.
Pots
Use tree seedling pots measuring 3" x 3" x 5" (7.5cm x 7.5cm x 14cm) with an "almost open" bottom.
|
|
|
|
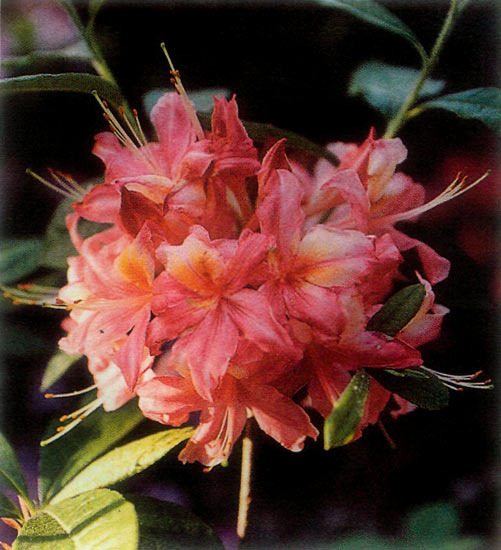
(
R. canescens
x
R. flammeum
[syn.
speciosum
])
Photo by Earl A. Sommerville |
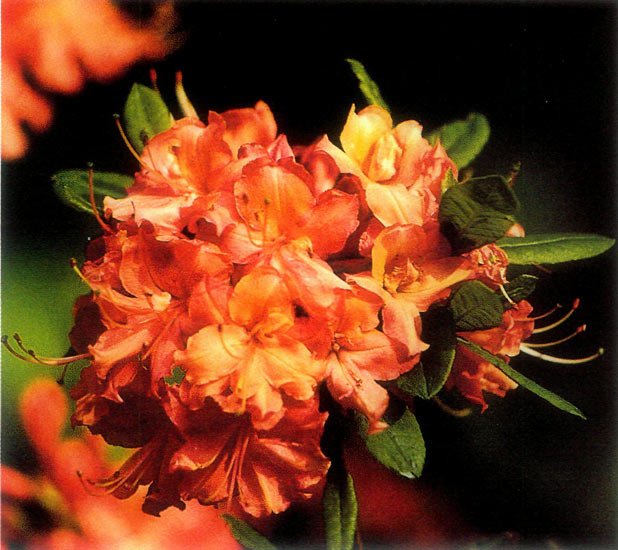
R. flammeum
(syn.
R. speciosum
) hybrid.
Photo by Earl A. Sommerville |
|
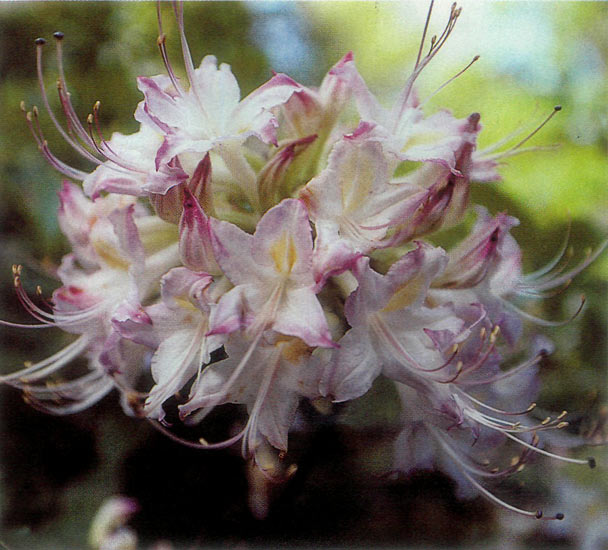
|
R. alabamense
x
R. canescens
natural hybrid.
Photo by Earl A. Sommerville |
Hormones
The recommended hormones are Hormodin #3 and Roots, a liquid gel (Canadian product). Failure to use a hormone in the propagation process slightly lowers the success rate percentage, but if the cutting roots they will break into new growth sooner without the added hormones.
Fertilizer
The fertilizer of choice is Peters 21-7-1 distributed in a Gewa injector with a 1-100 mixing valve. Issue the fertilizer at a ratio of 2 pounds per gallon (derived from the Gewa Constant Feeding Chart for a 7 to 10 day feeding). If watering by hand, mix one teaspoon of fertilizer per gallon. Plants should be fertilized beginning on the 15th day of June and every ten days thereafter. Moreover, make sure never to fertilize plants that are in winter dormancy.
Cuttings from the Garden
I generally take cuttings from the 21st of April to the 5th of May, but never after May 10th. The cutting should be taken very early in the season while it is extremely soft from a plant that has been well watered and fertilized with a well-balanced mix the previous year. The plants also need to be in a stage of active growth. After taking the cuttings, put them in a plastic bag and place them in a refrigerator for 12 to 48 hours. It is very important that water not be added to the plastic bag prior to refrigeration.
Cuttings from the Mountains
If the cuttings are allowed to wilt, they will not root. Therefore, the cutting should be taken early in the morning, placed in an airtight plastic bag with a wet paper towel and, if at all possible, stored in a cooler with ice. The cooler will greatly increase the probability of successful propagation. I have even converted a backpack into a small cooler for this very purpose.
The Cutting
After removing the cutting from the refrigerator, remove the tip and all but four leaves. Next, cutoff one-half of each of the remaining four leaves and dip the cutting into a Malathion-Captan mix before placing it into the medium. By July the cutting will begin to show new growth, and by the first of October it will have grown an additional 6 to 8 inches (15cm to 20cm). In the middle of October, move the rooted cuttings to a cold frame covered with white polyethylene for the winter season.
Greenhouse
The greenhouse should receive a full measure of sunlight from 8:30 a.m. to 7 p.m., and no shade should be provided for the propagating bench. The temperature rises to a full 100°F (38°C) in the greenhouse while the medium temperature approaches 85°F (29°C) under the mist. Experience has proven that providing this atmosphere to the cuttings increases the likelihood of success.
Potting Up
The rooted cutting should not be potted up until the following spring.
Conclusion
Conventional wisdom discourages the possibility of propagating native azaleas, but the formula I have developed after years of trial and effort has consistently provided a respectable level of success. While each of the steps involved in the process is important, there are three areas that require the most attention: the timing of taking cuttings, using the refrigerator, and fertilizing properly. Giving these three steps the utmost attention to detail will greatly increase your chances of success.
Suggested Reading
McDonald, Sandra. 1992. "Native Azaleas of Georgia."
Jour. Amer. Rhod.
Soc. Vol. 46: 146-149.
Earl Sommerville, a member of the Azalea Chapter, has been an ARS member since 1966.