Tips for Beginners: The Art of Hybridizing
Mark G. Konrad
Sewickley, Pennsylvania
The art of hybridizing includes many different aspects of science including morphology, biology and genetics. The basic mechanical aspect of hybridizing, however, is quite simple, especially with the genus
Rhododendron
which is quite easy to work with.
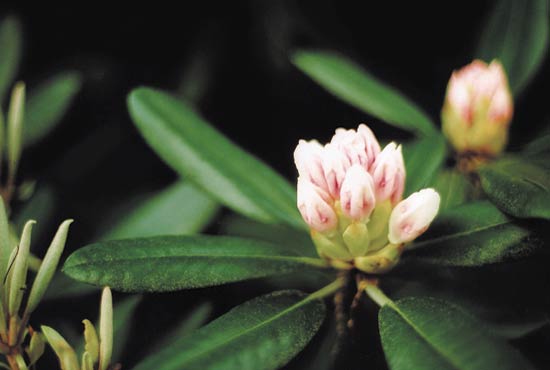
The following is a step-by-step outline for the procedure. Figure 1 shows the proper time to prepare the flower for hybridizing. This is an important first step since the anthers and petals should be removed before the pollen is discharged to avoid the possibility of self-pollination.
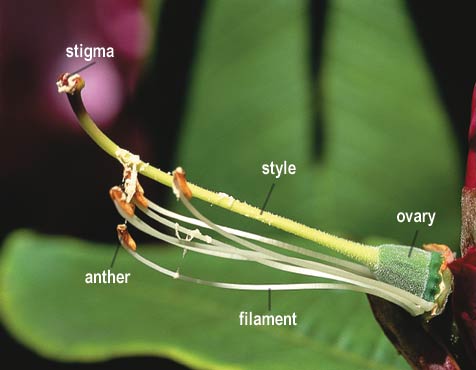
Figure 2 shows the morphology. The style is connected to the ovary at the base and the stigma at the tip. The anthers at the tip of the filaments have already discharged a large amount of pollen.
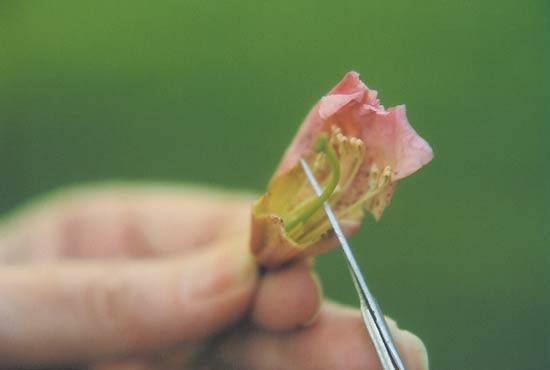
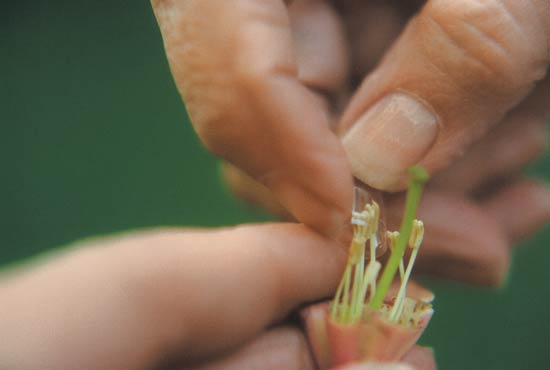
Figure 3 shows preparation of the flower for hybridizing. For practical demonstration the flower has been removed from the flower truss. All of the anthers and petals are cut away with a pair of scissors. Often I encourage visitors passing through the garden to practice this in an effort to stimulate their interest in hybridizing.
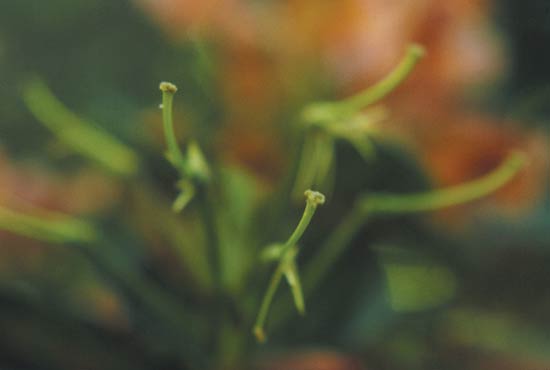
Figure 4 shows the final preparation. The anthers and petals have been removed from four or five flowers in a truss which is usually enough since each pod has the potential for 300 or 400 seeds. The remaining flowers in the truss are removed. With the preparation completed there is no longer a landing field for bees, and therefore it is unlikely that open pollination will occur from another source. Airborne rhododendron pollen is also unlikely.
At this time, the pollen collected from another plant can be put on the stigma; however, the stigma may not be immediately sticky or receptive and it may be necessary to wait a few days or to repeat the application.
After the cross is made a tag is attached for identification. The pods are usually collected in the early fall just as they begin to turn brown, quite often near the first frost. After a few weeks of drying, the pods will open and allow the seeds to drop out. The seeds can be sown almost immediately without the need for stratification or after-chilling.
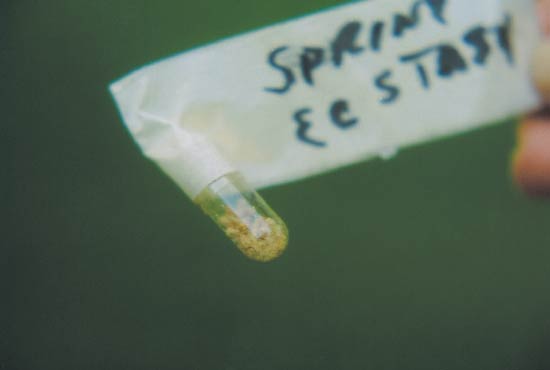
Figure 5 shows harvesting of the pollen from the anthers using a gelatin capsule (size 00 preferred). These can be purchased from pharmacies or health food stores. Fresh pollen will be viable from four to six weeks if kept dry. The pollen can also be stored in closed containers with a drying agent (usually calcium chloride) and, if frozen, can last for many years.
Figure 6 shows the gelatin capsule with the collected pollen. Masking tape is attached for plant identification, and this can also be held while tapping the capsule to discharge the pollen from the anthers. When making a cross, the pollen can be removed from the capsule with a toothpick and applied to the stigma. An alternative method is to use a pair of tweezers to hold the anther so that the pollen is placed directly on the stigma. The pollen can also be applied with a tiny artists brush; however, the brush must be cleaned with alcohol after each cross.
A vast amount of knowledge is not necessary to become a successful hybridizer. There are some important things to keep in mind, however, in producing rewarding plants, considering that it may take three to seven years to get a blooming plant.
The key to successful hybridizing is to use parents that are known to produce quality offspring. It is well worth the time and effort to seek out the plants that have a proven track record. Crossing two good parents would be the ideal, but at least one good parent should be present in every cross.
As a guide, choose parents that are known to produce good foliage, truss form, hardiness, heat tolerance, early bloom, dwarfness if desired and thriftiness.
As interest grows, one may naturally become more curious about the basic science of plant genetics and reproduction.
|
|
|
|
Figure 1. Proper time to prepare flower for hybridizing.
Photo by Mark G. Konrad |
Figure 2. Parts of the flower.
Photo by Eleanor Philp |
|
|
|
|
Figure 3. Preparation of the flower for hybridizing.
Photo by Mark G. Konrad |
Figure 4. Final preparation with anthers removed.
Photo by Mark G. Konrad |
|
|
|
|
Figure 5. Harvesting of pollen.
Photo by Mark G. Konrad |
Figure 6. Gelatin capsule with the collected pollen.
Photo by Mark G. Konrad |
Reference
Mehlquist, Gustav. 1979. New rhododendrons through hybridization and selection,
Quarterly Bull. Amer. Rhod. Soc
. 33:4:214-221.
Dr. Konrad is a member of the Great Lakes Chapter.